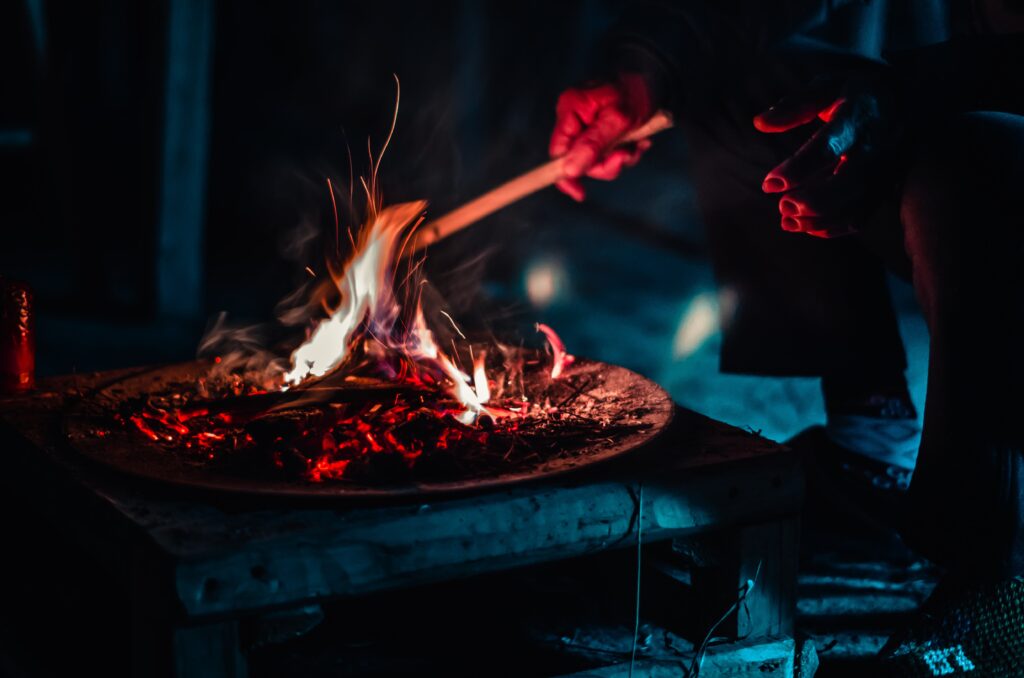
So, you’ve been enjoying the cozy evenings gathered around your wood fire pit, but now you’re starting to wonder if there’s a more convenient way to enjoy the warmth and ambience. Well, you’re in luck! In this article, we’ll explore the simple steps you can take to convert your beloved wood fire pit into a convenient propane fire pit. From the necessary equipment you’ll need to the step-by-step process, we’ve got you covered. Get ready to upgrade your outdoor gatherings and say hello to hassle-free fireside relaxation!
Safety Precautions
Converting your wood fire pit to a propane fire pit can be a great way to enhance your outdoor space and provide a convenient and clean-burning alternative. However, it is important to prioritize safety throughout the conversion process. By following a few safety precautions, you can ensure a smooth and secure transition to a propane fire pit.
Check local regulations and restrictions
Before proceeding with the conversion, it is crucial to familiarize yourself with any local regulations or restrictions regarding the use of propane fire pits. Different regions may have specific guidelines regarding installation, fuel storage, or usage, so it is wise to consult your local authorities or fire department to ensure compliance.
Ensure proper ventilation
Propane fire pits require proper ventilation to ensure the safe combustion of gas. It is essential to place your fire pit in an open and well-ventilated area, away from any structures or flammable materials. Adequate airflow will help prevent the accumulation of gas and minimize the risk of accidents or injuries.
Read and follow manufacturer instructions
To ensure a safe and successful conversion, it is crucial to carefully read and follow the manufacturer’s instructions provided with your propane conversion kit and fire pit components. Each manufacturer may have specific guidelines, installation requirements, and safety precautions, so it is essential to adhere to these instructions to avoid any potential hazards.
Inspect the wood fire pit for damage or wear
Before proceeding with the conversion, thoroughly inspect your wood fire pit for any signs of damage or wear. Look for cracks, rust, or weakened structural components that could compromise the safety and stability of the fire pit. If any issues are detected, it is crucial to address them promptly or consider replacing the fire pit if necessary.
Remove all wood and combustible materials
Before converting your wood fire pit to propane, ensure that it is completely empty of any wood or other combustible materials. Remove any ashes, debris, or remnants from previous fires to create a clean and safe environment for the propane conversion process.
Have a fire extinguisher nearby
As an additional safety measure, it is essential to have a fire extinguisher readily available in case of emergencies. Choose a fire extinguisher suitable for both wood and gas fires and ensure that it is fully charged and easily accessible near your propane fire pit. Familiarize yourself with its proper use before starting the conversion process.
Obtain Necessary Equipment
To successfully convert your wood fire pit to a propane fire pit, it is essential to gather all the necessary equipment and supplies. Here are the items you will need for the conversion:
Propane conversion kit
A propane conversion kit is a specialized set of components designed to enable the safe and efficient operation of a propane fire pit. This kit typically includes a burner ring or pan, gas hoses, connectors, and a regulator specifically designed for propane. Ensure that you choose a conversion kit suitable for your fire pit size and specifications.
Propane tank
A propane tank will serve as the fuel source for your propane fire pit. Select a propane tank size that suits your usage requirements and consider factors such as the size of your fire pit and the frequency of use. It is essential to secure the propane tank in an upright position and follow proper storage and handling guidelines.
Hose and regulator
A high-quality hose and regulator are necessary to connect the propane tank to the conversion kit. The hose and regulator ensure a controlled flow of propane and help maintain a consistent flame in your fire pit. Make sure to choose hoses and regulators that are compatible with propane and meet safety standards.
Pliers and wrench
You will need pliers and a wrench to securely fasten the connections between the propane tank, hose, regulator, and conversion kit. These tools will help ensure tight and leak-free connections, providing an extra layer of safety during the conversion process.
Teflon tape
Teflon tape, also known as plumber’s tape, is an essential item for sealing threaded connections in your propane fire pit. Wrap the male threads of the connections with Teflon tape to create a tight seal, preventing gas leaks. Make sure to wrap the tape in the direction that will tighten the connection when assembled.
Fire glass or lava rocks (optional)
To add a decorative element to your propane fire pit, you can choose to use fire glass or lava rocks. These materials not only enhance the appearance of the fire pit but also help disperse the flame evenly for a captivating visual effect. Fire glass is available in various colors and shapes, allowing you to customize the look of your fire pit.

Prepare the Fire Pit
Before proceeding with the propane conversion, it is important to properly prepare your wood fire pit. By following these steps, you can ensure a clean and stable foundation for the conversion process.
Empty and clean the wood fire pit
Start by completely emptying the wood fire pit of any leftover wood, ashes, or debris. Use a fire shovel or a scoop to remove the materials and dispose of them safely. Cleaning out the fire pit ensures that there are no flammable remnants that could ignite when the propane fire pit is in use.
Remove any grates or screens
If your wood fire pit has grates or screens, remove them to access the fire pit interior. Clearing any additional components allows for easier inspection, repairs, and modifications during the conversion process.
Inspect and repair the fire pit structure if necessary
Take the time to inspect the overall structure of your wood fire pit. Look for any cracks, rust, or compromised components that may pose safety risks or affect the stability of the fire pit. If required, perform any necessary repairs or reinforcement before proceeding with the conversion.
Ensure the fire pit is stable and level
For a propane fire pit to operate safely and efficiently, it must be stable and level. Check the base of your wood fire pit to ensure it is sitting securely on the ground and doesn’t wobble or tilt. If the fire pit is unstable, adjust its positioning or consider using a leveling agent such as sand or gravel to create a flat and sturdy base.
Install the Propane Conversion Kit
Once the necessary preparations have been made, you can proceed with the installation of the propane conversion kit. Follow these steps to ensure a secure and reliable propane fire pit.
Turn off and disconnect any existing gas supply
If your wood fire pit was previously connected to a gas supply, turn off and disconnect the supply before starting the conversion process. This step ensures a safe transition and prevents any potential gas leaks or accidents during the installation of the propane conversion kit.
Attach the propane regulator to the propane tank
Start by attaching the propane regulator to the valve outlet of your propane tank. The regulator regulates the gas pressure and ensures a controlled flow of propane to your fire pit. Follow the manufacturer’s instructions to securely attach the regulator, using a wrench to tighten any necessary connections.
Connect the hose from the regulator to the conversion kit
Next, connect one end of the hose to the propane regulator and the other end to the conversion kit. Ensure that the hose is attached securely, using pliers or a wrench to tighten the connections as needed. Double-check that all fittings are properly aligned and tightened to prevent gas leaks.
Secure all connections with pliers and wrench
To ensure a tight and leak-free installation, use pliers and a wrench to securely tighten all connections between the propane tank, regulator, hose, and conversion kit. By applying the necessary force, you can minimize the risk of gas leaks and ensure a safe and efficient operation of your propane fire pit.
Apply Teflon tape to threaded connections
Before assembling threaded connections, wrap Teflon tape around the male threads. This tape will create a tight seal when the connections are tightened, preventing gas leaks. Make sure to wrap the tape in the direction that will tighten the connection when assembled.
Check for gas leaks using soapy water
After completing the installation of the propane conversion kit and all connections, it is essential to check for gas leaks. Apply a soapy water solution to all the connections, including threaded fittings and hose connections. If you see any bubbles forming after applying the solution, it indicates a gas leak. In such cases, immediately tighten the connection or seek professional assistance if necessary.

Modify the Fire Pit
With the propane conversion kit installed, it is time to modify your fire pit to accommodate the new gas-burning components. Follow these steps to ensure a smooth transition and optimal performance of your propane fire pit.
Remove or modify the existing wood-burning components
If your wood fire pit has any existing wood-burning components, such as grates or logs, remove them to make way for the new propane burner ring or pan. Some fire pits may require modifications to accommodate the propane components, such as enlarging the opening or adjusting the interior structure. Follow the manufacturer’s instructions for proper modification techniques, if needed.
Install the propane burner ring or pan
Place the propane burner ring or pan securely into the fire pit base, ensuring that it is centered and level. The burner ring or pan will be responsible for distributing the gas and producing the flame. Make sure to position the burner in a way that it maximizes heat distribution and provides a visually appealing flame pattern.
Connect the burner ring or pan to the gas supply
Attach the hoses from the propane conversion kit to the burner ring or pan. Ensure that the connections are secure and properly aligned, using pliers or a wrench if necessary. Double-check for any gas leaks by applying a soapy water solution to the connections and adjusting the fittings as needed.
Adjust the positioning of the burner for proper flame distribution
With the burner ring or pan connected, take a moment to adjust its positioning to achieve proper flame distribution. This adjustment ensures that the flame covers the desired area evenly and generates sufficient heat. Refer to the manufacturer’s instructions for any specific guidelines regarding burner positioning and flame height.
Cover the burner with fire glass or lava rocks (optional)
To enhance the aesthetics of your propane fire pit, you can choose to cover the burner with fire glass or lava rocks. These decorative elements not only add beauty to the fire pit but also help distribute the heat and create a captivating display. Carefully spread the fire glass or lava rocks over the burner, ensuring an even and visually pleasing arrangement.
Test and Adjust
Before fully enjoying your newly converted propane fire pit, it is important to perform thorough testing and make any necessary adjustments to ensure its optimal functionality and safety.
Turn on the propane gas supply
Gradually open the valve on the propane tank to release gas into the fire pit. Start with a gentle flow of gas and gradually increase it to avoid any sudden flames or hazards. Take care not to exceed the recommended gas flow rate specified by the conversion kit manufacturer.
Light the burner using a long lighter or match
Using a long lighter or match, carefully ignite the gas coming out of the burner ring or pan. Follow the manufacturer’s instructions for proper lighting techniques and safety precautions. Once the flame is lit, observe the fire pit’s behavior and characteristics.
Check for proper flame height and appearance
Observe the flame, paying attention to its height, color, and stability. The flame should be a vibrant blue color and should reach a height that is appropriate for your fire pit’s size and design. If the flame appears too low or too high, adjustment may be necessary.
Adjust the gas flow and air mixture if necessary
If the flame height or appearance is not optimal, adjustments to the gas flow and air mixture may be required. Refer to the manufacturer’s instructions for guidance on adjusting these settings. Always make small adjustments and observe the flame behavior before making further changes.
Ensure even heat distribution
During the testing phase, assess the heat distribution within the fire pit. Check if the heat is evenly distributed across the fire pit’s surface for a comfortable and enjoyable experience. A well-adjusted fire pit will provide consistent and enjoyable warmth to those seated around it.

Maintain and Clean
Regular maintenance and cleaning are essential to keep your propane fire pit in optimal condition and ensure its longevity. Follow these guidelines to maintain a safe and efficient fire pit.
Regularly inspect and clean the burner and gas connections
Periodically inspect the burner and gas connections of your propane fire pit for any signs of damage, wear, or debris accumulation. Clean the burner using a soft brush or cloth to remove any dirt, dust, or corrosion that may affect the burner’s performance. If you notice any issues, address them promptly to prevent further damage or gas leaks.
Remove debris and ashes from the fire pit
After each use, remove any debris, ashes, or remnants of fire glass or lava rocks from the fire pit. Use a scoop or shovel to collect the materials and dispose of them safely. Cleaning the fire pit regularly helps maintain a clean and safe environment for future use.
Replace any worn or damaged parts
Over time, certain parts of your propane fire pit may experience wear or deterioration. Regularly inspect all components, including hoses, connections, and burners, for any signs of damage or aging. If you identify any worn-out or damaged parts, replace them promptly with suitable replacements to maintain the fire pit’s safety and functionality.
Store propane tank safely when not in use
When your propane fire pit is not in use, it is important to store the propane tank safely. Keep the tank in a well-ventilated area, away from any direct heat sources or potential ignition points. Ensure that the tank valve is tightly closed, and consider using a protective cover to shield it from the elements.
Enjoy Your Propane Fire Pit
Now that you have successfully converted your wood fire pit to a propane fire pit, it’s time to enjoy all the benefits it offers. Follow these guidelines to make the most of your propane fire pit experience.
Add comfortable seating and outdoor lighting
Create a cozy and inviting atmosphere around your propane fire pit by adding comfortable seating options. Arrange chairs or benches around the fire pit, providing ample space for relaxation and conversation. Additionally, consider installing outdoor lighting to enhance the ambiance and provide adequate visibility during evening gatherings.
Use the fire pit for relaxing or entertaining
Your propane fire pit provides a versatile space for various activities. Whether you want to unwind and enjoy a peaceful evening by the fire or entertain guests with a cozy outdoor gathering, your fire pit offers a warm and inviting environment. Take advantage of this versatile feature and create lasting memories with family and friends.
Follow appropriate safety guidelines
While using your propane fire pit, it is essential to prioritize safety. Follow all safety guidelines provided by the manufacturer and adhere to local regulations and restrictions. Always keep a close eye on the fire pit while in use and ensure that children and pets are supervised and kept at a safe distance.
Extinguish the flame properly after each use
After enjoying your propane fire pit, it is crucial to extinguish the flame properly. Gradually lower the gas flow and monitor the flame until it is completely extinguished. Confirm that the propane tank valve is tightly closed and that all connections are secure. Lastly, wait for the fire pit and surrounding components to cool down before leaving the area unattended.
By following these comprehensive guidelines, you can confidently convert your wood fire pit to a propane fire pit and enjoy the benefits of a clean-burning and convenient outdoor heat source. Prioritize safety throughout the conversion process and regularly maintain your propane fire pit to ensure its optimal performance and longevity. Now, it’s time to relax, gather around your fire pit, and create memorable experiences in your outdoor space.


